Pinkfresh Studio Amazing things and Joyful day colorful cards
- Rachel Designs
- May 6, 2024
- 3 min read
Updated: May 20, 2024
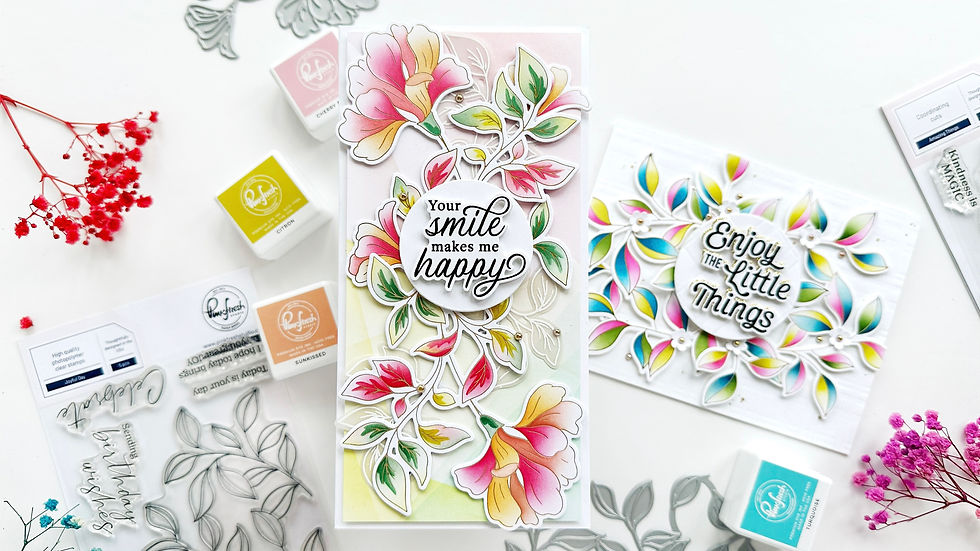
I'm so happy to be on the blog again sharing two simple design ideas using some sets from Pinkfresh Studio latest release:

I just love the Amazing things set and couldn't help but coloring it with a myriad of colors but let's start by the beginning.
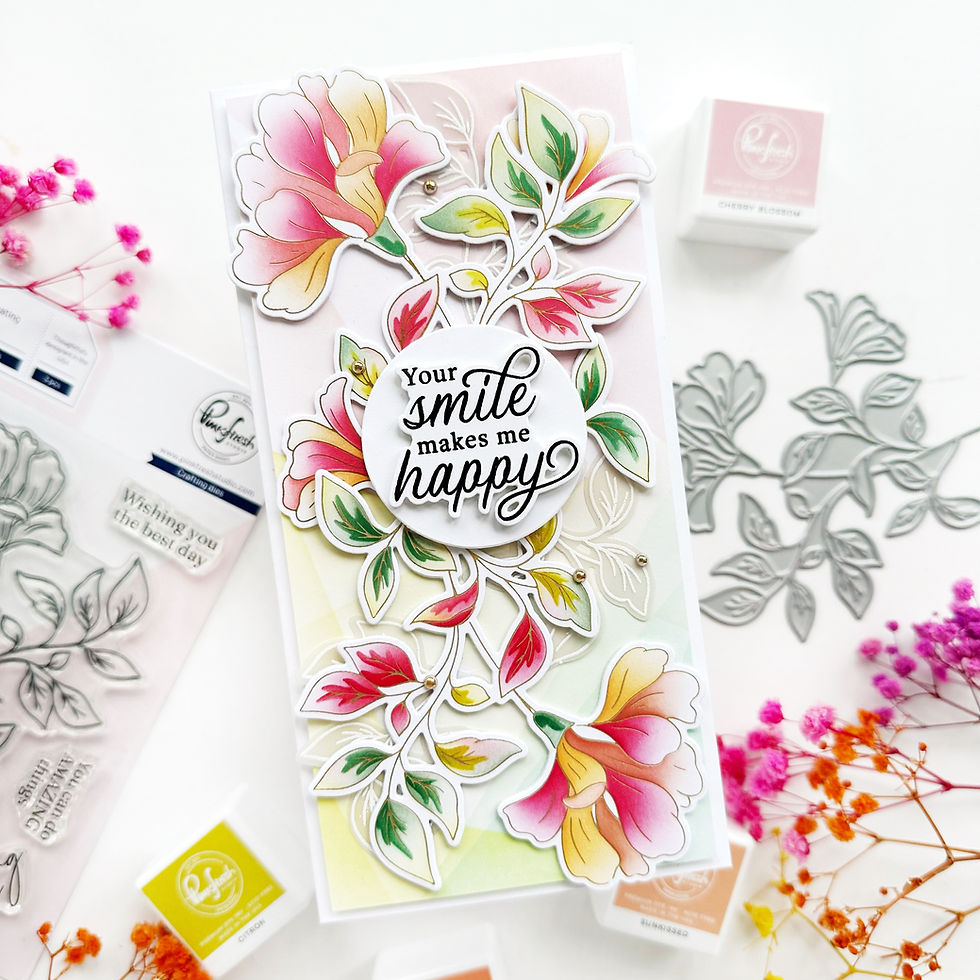
This is a very easy to make design. First off, I used the Amazing Things Press Plate to foil this image with Matte Gold Glimmer foil. I then used the coordinating stencils to add color. I used Apricot, Cherry Blossom, Peony, Begonia, Ballet Slippers, Berrylicius, and Raspberry Bliss for the petals and Sage, Eucalyptus, Spruce Tips, Citron and some Ballet Slipper, Berrylicious and Raspberry Bliss too.
My idea was to create a design with two identical flowers pointing to different direction, so I repeated this process to have two of them.

I cut out a 3 1/2 by 6 3/4 inches. This size was large enough to place my flowers vertically. I didn't want my front panel to be white this time, so to add some color I decided to use the Overlapping Geometrics stencils. This is a 6 layer set which can be used in so many ways. This time I used all the layers but I believe any of these layers will be great to add some fun patterns and color to your projects.
I use light colors that worked well together : Lemon Whip, Ballet Slipper, Sparkling rose, Cherry Blossom, Ocean Breeze, Fresh Pear and Citron.
Since my front panel was not an standard A2 card I used some layers of the stencils twice to cover all the panel but it's a very simple process. I've made a reel where you can actually see me coloring this front panel. Since my panel is narrower than an A2, the center part didn't get any color but I just masked some areas and colored it without a problem.

Once my background was colored, I trimmed the small flowers from both sets and arranged these images covering most of the front panel. In the final card you don't actually get to see much of the background but I wanted to take the time and show how I made it because as I said, the Overlapping Geometric stencils are really amazing. I also added some leaves from the same set white heat embossed on vellum.
Once I has happy with the arrangement, I stamped my sentiment with Detail Black ink and foam mounted it onto a white die cut circle. This sentiment is from the set Best thing. I also added some Gold Metallic Pearls.
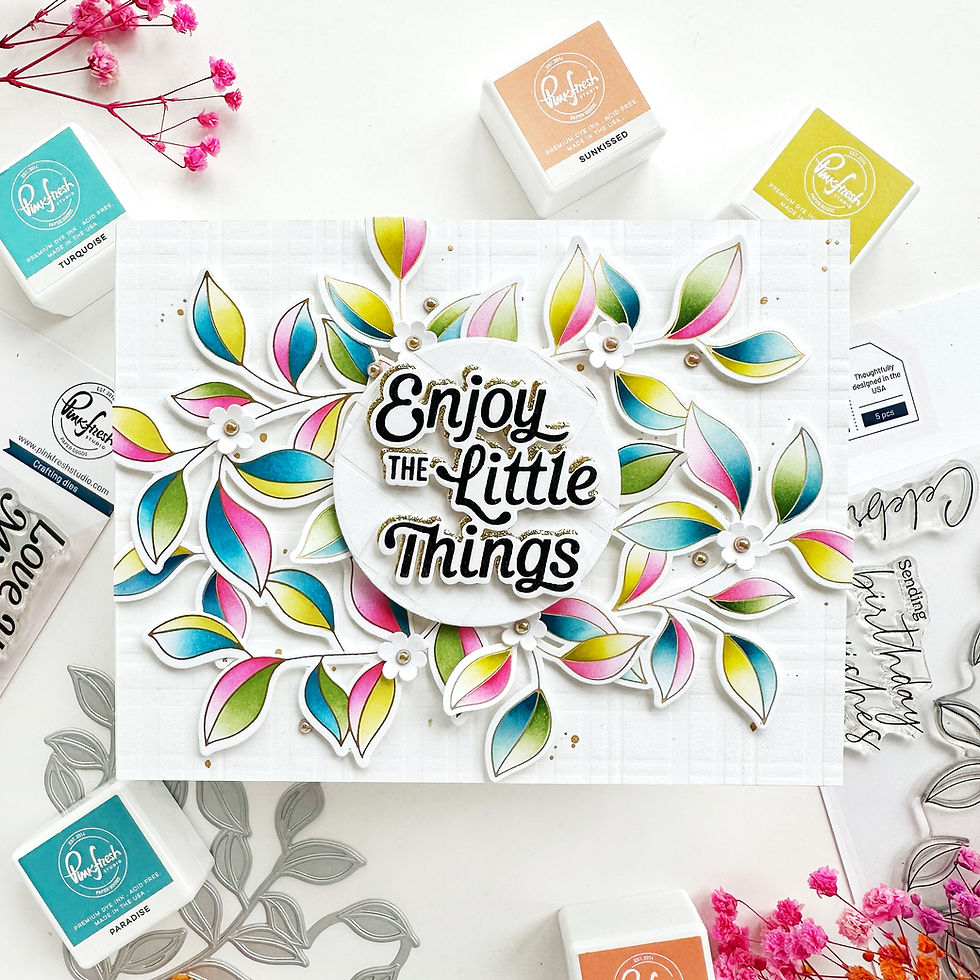
With the same scketch in mind, I created a similar project using the Joyful Day Press Plate

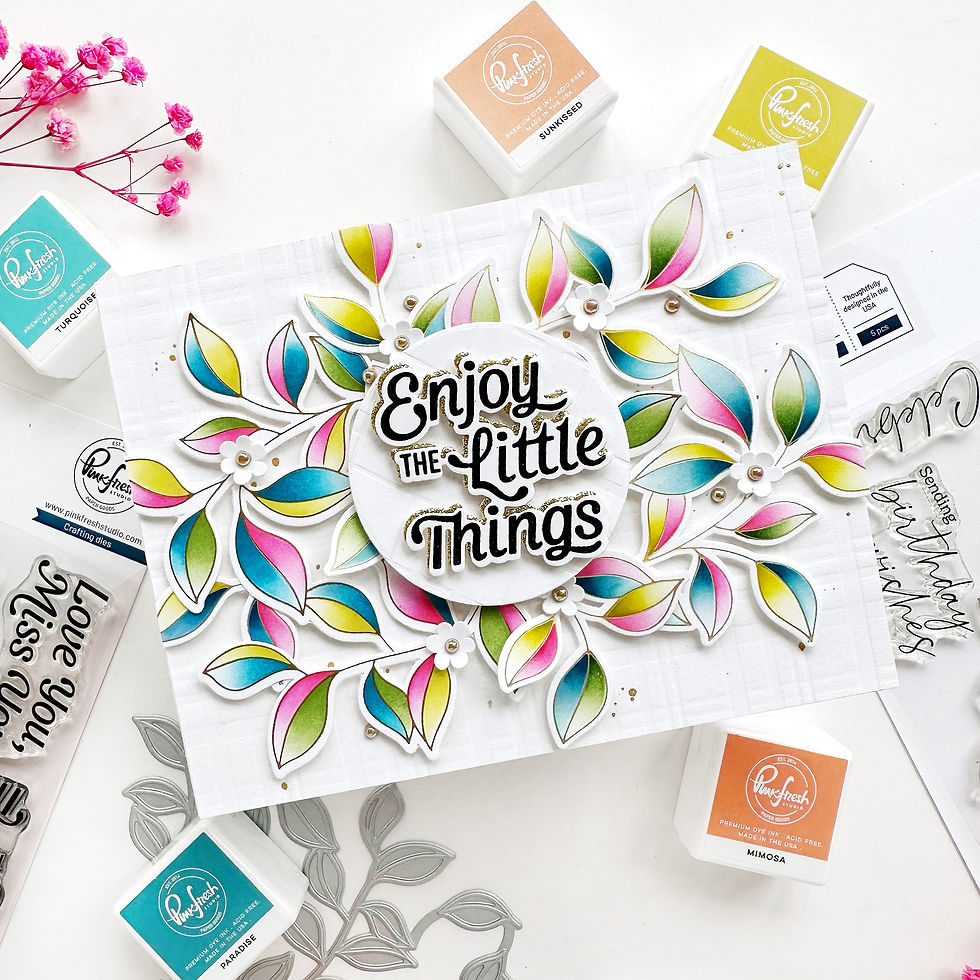
First up, I colored this beautiful leaves with the coordinating stencils. I also created two sets of leaves so I could cover the whole panel. This set of stencils has four layers so I used one color for each layer and added some shading with colors from the same familyon each leaf: Sparkling Rose and Raspberry Bliss, Turquoise and Paradise, Grassy Knoll and Olive, Citron and Bay Leaf.

Then I dry embossed my front panel using the new Plaid Press Plate and added some gold splatters. I trimmed some leaves from this cluster and adhered them onto my dry embossed panel with lots of foam adhesive.

For the sentiment, I used the Happy Vibes Stamp set. I also stamped the sentiment in Detail Black ink and foam mounted it onto the same die cut sentiment using gold glitter cardstock . I adhered this sentiment onto a white circle and foam mounted again in the center of my horizontal card.
As a final touch, I added some white flowers from the Stylized Floral die set.
I hope these ideas inspire you to create and thank you so much for stopping by!
Raquel
Beautiful cards! The colors are delightful
Beautiful!